How to Draw a Family Tree by Hand
To draw a family tree, work in strict rows — one generation per row — starting with yourself at the bottom of the page and doubling as you go up: 2 parents, 4 grandparents, 8 great-grandparents. Draw the boxes first (pencil, ruler), the connecting lines second, and the names last. That order is the whole secret; trees go wrong when people write names first and try to fit boxes around them.
This guide gives you actual measurements for 3-, 4-, and 5-generation layouts, the three line rules that keep any tree readable, and the fixes for the situations that break neat charts — siblings, second marriages, and the cousin nobody can classify. For that last one, the free relationship calculator on our homepage is the tool: name the path ("my grandma's sister's grandson"), get the relationship, draw with confidence.
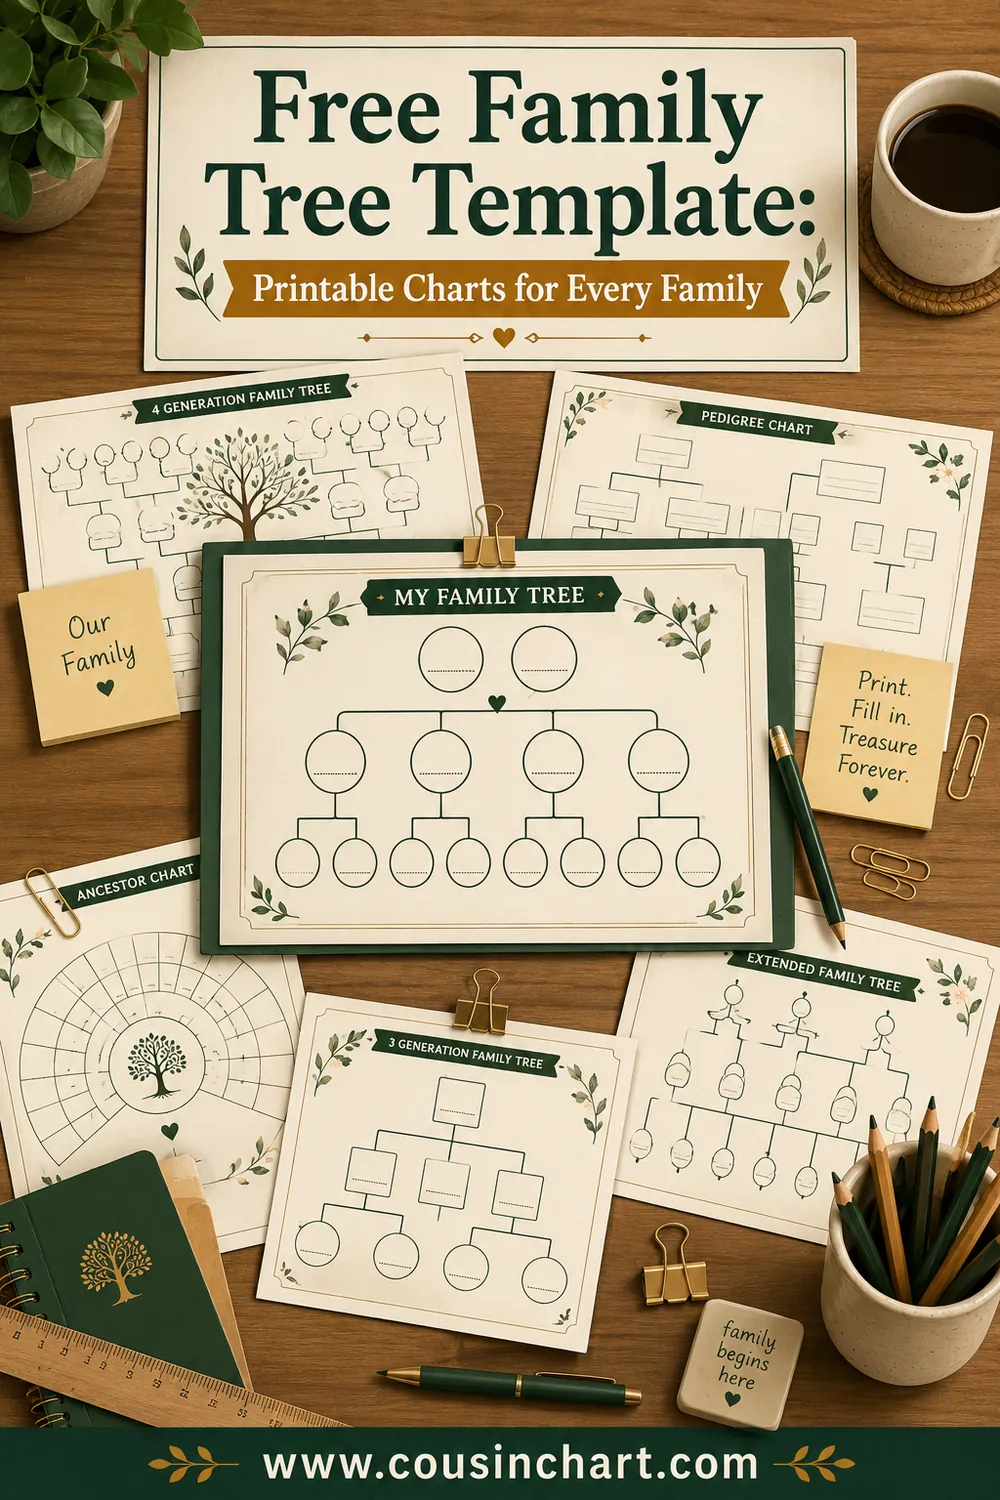
Free printables for this page
Download a blank PDF (US Letter or A4) — free, no sign-up — or customize it in the maker above before printing.
 3-Generation Family TreeYou, parents and grandparents. Portrait, big boxes, 10 minutes to fill.
 Family Tree With Siblings
 Kids' Family Tree
 Extended Family Tree
Relationship quick-check: tap a phrase to see who they are — and which row they belong on.
Tap a phrase above to see the answer.
Work out any family relationship →What you need
- Paper: Letter/A4 for 3–4 generations, 11×17" or two taped sheets for 5
- A pencil and a decent eraser (non-negotiable — every tree gets corrected)
- A ruler
- A fine pen for the final pass
- Ten minutes with relatives, or your notes from them
No artistic skill required. A family tree is a diagram wearing a poetic name; if you can draw a rectangle and a straight line, you're qualified.
The measurements: boxes and rows that actually fit
The doubling rule (1 → 2 → 4 → 8 → 16) means the top row always sets your box width. Divide usable page width by the top row's box count and you get your measurements:
| Generations | Top-row boxes | Page & orientation | Box size (approx.) | Row gap |
|---|---|---|---|---|
| 3 | 4 | Letter portrait | 1.8" × 0.8" | 1.5" |
| 4 | 8 | Letter landscape | 1.2" × 0.7" | 1.2" |
| 5 | 16 | 11×17" landscape | 0.9" × 0.6" | 1" |
Two practical notes. First, leave a half-inch margin all round — trees that touch the page edge can't be photocopied cleanly. Second, if you want to write birth and death years under each name, add a quarter inch of box height; it's easier to plan now than squeeze later.
Step by step: drawing a 3-generation tree
- Turn the page portrait and rule three faint horizontal guidelines — one across the lower third, one across the middle, one across the upper third. These are your generation rows.
- Draw your box first, centered on the bottom guideline: one rectangle, about 1.8" wide.
- Draw two parent boxes on the middle guideline, spaced evenly left and right of center — mother one side, father the other. Pick sides now and stay consistent all the way up.
- Draw four grandparent boxes on the top guideline: the two leftmost above the left parent, the two rightmost above the right parent.
- Connect children to parents. From the top of your box, draw a vertical line up, then a horizontal "bridge" joining down-strokes from both parent boxes. Repeat from each parent up to their pair of grandparents.
- Write the names in pencil: full name, maiden names for married women, birth year underneath. Surnames in CAPITALS is the old genealogist habit that keeps charts legible.
- Check, then ink. Confirm spellings and dates with a relative before tracing boxes and lines in pen and erasing the guidelines.
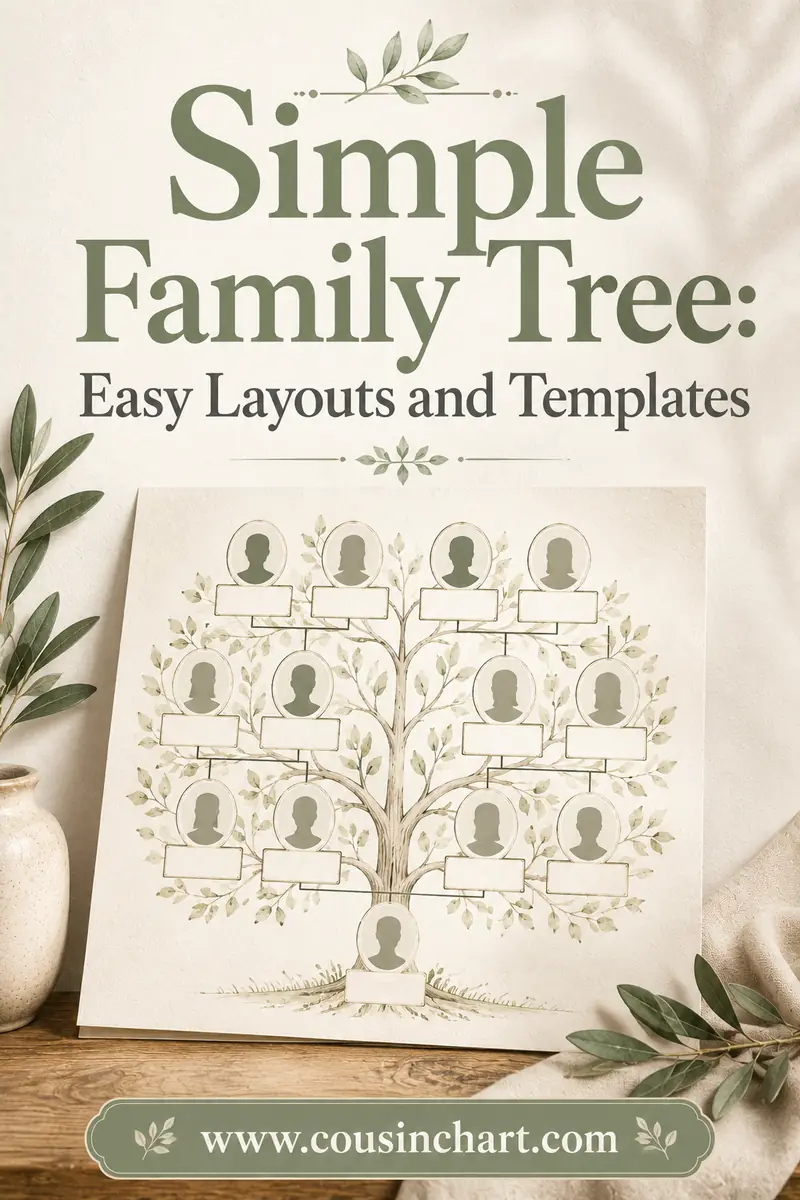
Total time: fifteen minutes, most of it spent on step 6. This is the same layout as our printable simple family tree, so if your ruler hand wobbles, print the frame and hand-write the rest.
Going up: four and five generations
The method never changes — add a guideline, double the boxes — but two conventions save you:
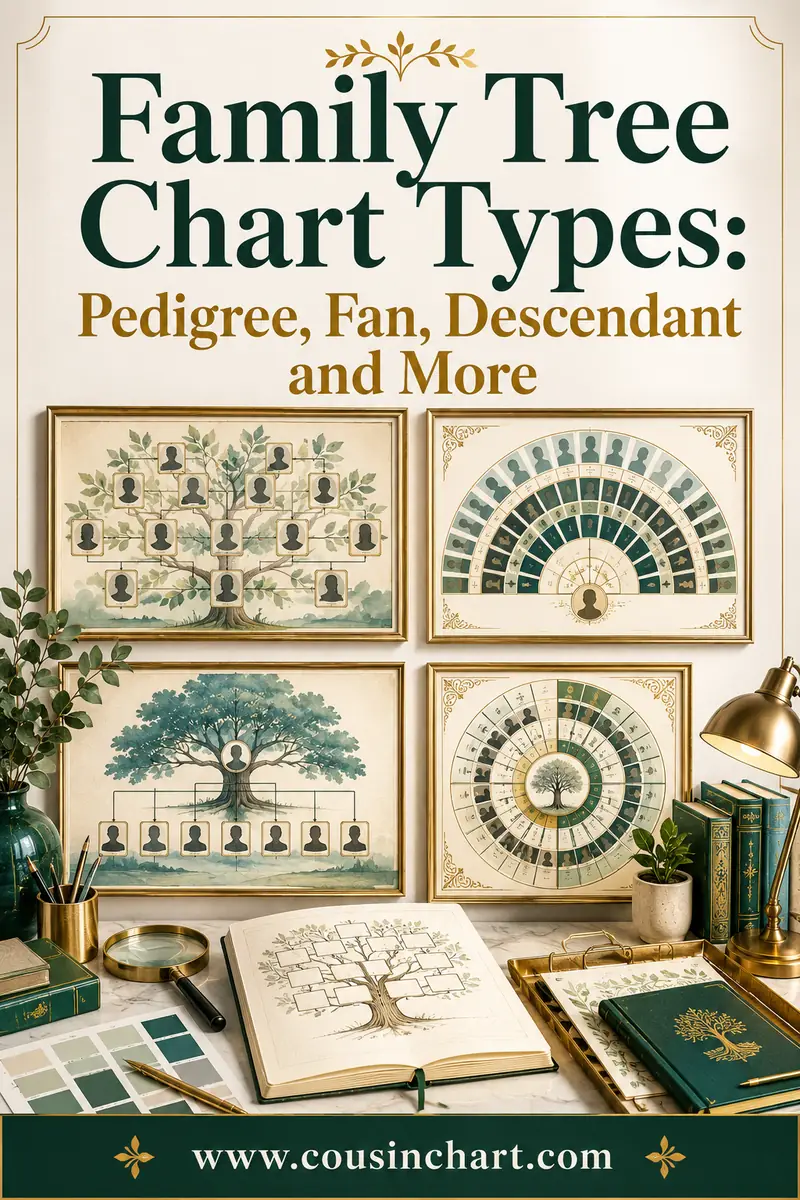
- Switch to landscape at four generations. Eight great-grandparent boxes need the page's long edge. Root person moves to the bottom-center or the left-middle (left-middle turns the tree sideways, which is exactly how printed pedigree charts work — see the layouts in family tree chart types).
- Number people at five generations. Give yourself 1, your father 2, mother 3, and keep going — each father is double his child's number, each mother is double-plus-one. When the 16-box top row runs out of paper, any ancestor's number can restart as person 1 on a fresh sheet, and the numbers tell you how the sheets join.
If the top row's boxes drop below about 0.8" wide, stop and either enlarge the paper or draw a fan instead — arcs share space better than rectangles.
The three line rules (what makes a tree readable)
- Vertical lines mean descent. A line down from a couple's bridge means "their child."
- Horizontal bridges mean marriage or partnership. Draw the couple's boxes side by side joined by a short horizontal line; children hang from that line.
- Nothing else gets a line. No lines between siblings (their shared parent-line already says it), none between cousins, none to in-laws beyond the marriage bridge. Every extra line makes the tree lie a little.
Handling the tricky cases
- Siblings: widen the child row — one box each, oldest to youngest left to right, all hanging from the same parental bridge.
- Second marriages: give the remarried person two marriage bridges, one per spouse, with each set of children hanging from the correct bridge. Space the spouses on either side of the remarried person.
- Half-siblings: they hang from one bridge you also hang from — the shared parent's other marriage. Their single connected parent is what makes them "half."
- Step-relatives: connect with a dashed line so the eye separates blood from marriage.
- Adopted children: draw them exactly like biological children (they are children, full stop); genealogists who need to track both lines use a small "a" notation or a dotted descent line, but on a family wall chart, a plain line is the right call.
- Unknown relationships: don't guess a box position. Describe the path in the free CousinChart calculator — it'll tell you the person is, say, your first cousin twice removed, which instantly tells you their row (two above yours) and their branch.
Making it pretty: from diagram to art piece
Everything above produces a correct chart. If you want a beautiful one, add the decoration after the structure is right — never instead of it:
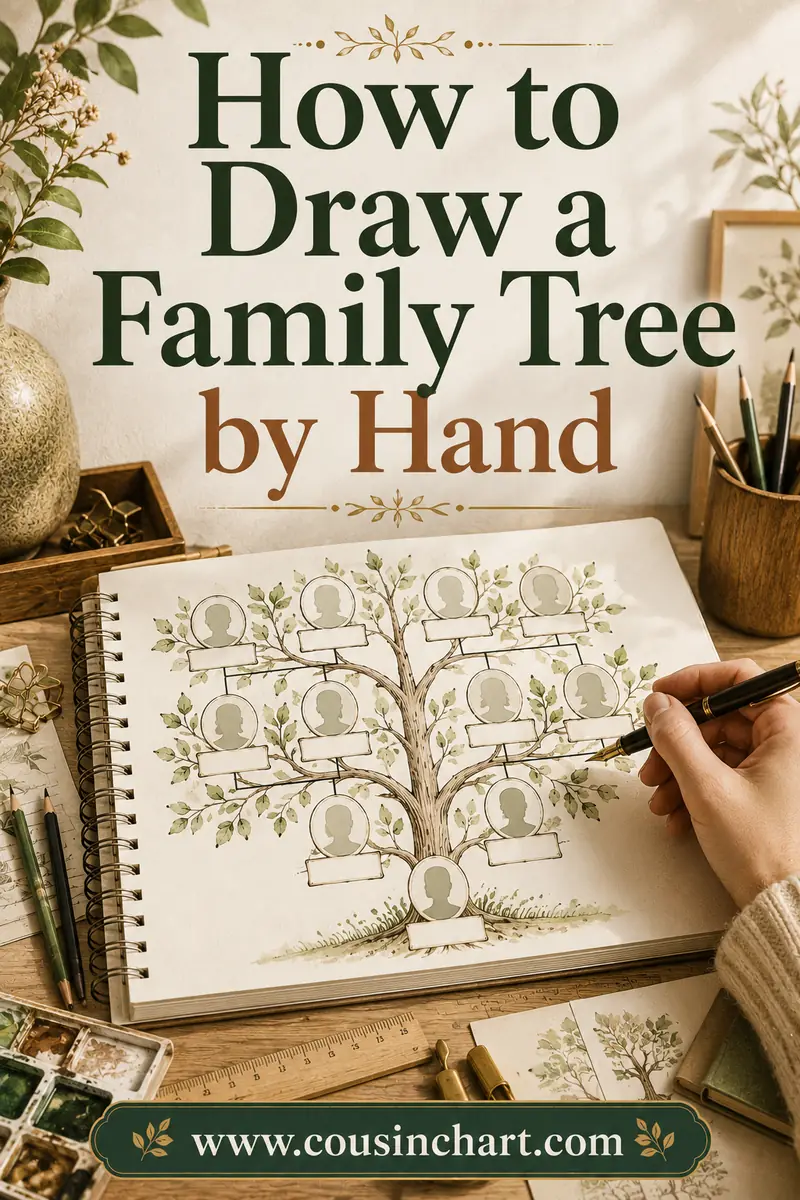
- The literal tree. Lightly sketch a trunk rising from your box and canopy arcs behind the upper rows, then draw each ancestor box as a leaf or fruit sitting on its correct row. The rows are still rows; the tree is a costume.
- The watercolor wash. Ink the finished chart with a waterproof pen, let it dry completely, then wash pale color behind each family branch — one tint for the maternal side, another for the paternal. This is the single highest-impact decoration per minute of effort, and it makes the two sides readable from across a room.
- The chalkboard style. White gel pen on black cardstock, hand-lettered names, a few drawn flourishes. Forgiving of wobbly lines (wobble reads as charm in chalk style) and striking in a frame.
- Borders and title. A ruled double border and a hand-lettered family name at the top do more for "finished" than any amount of clip art. Add "drawn by ___, 2026" small in the corner — the future wants to know.
One rule keeps decoration honest: color and art may distinguish branches, but only lines may show relationships. A vine connecting two boxes decoratively will be read as a bloodline by somebody, someday.
The five drawing mistakes that ruin trees
- Names first, boxes after. The classic. Names sprawl, boxes warp around them, and generation three arrives at the page edge. Boxes first, always.
- Uneven rows. If grandparents sit at two different heights, every relationship line between the rows turns ambiguous. Rule faint guidelines and keep each generation glued to its line.
- Connecting siblings to each other. Siblings connect upward to their shared parents — never sideways to each other. The sideways line means "couple" in chart grammar.
- Forgetting the spouses' surnames. "Grandpa Joe & Grandma Mary" is half a record. Mary had parents too, and her maiden name is the door to them.
- Inking too early. Ink is for verified trees. The chart that goes straight to pen is the chart that gets redrawn — usually the same weekend.
Finishing touches
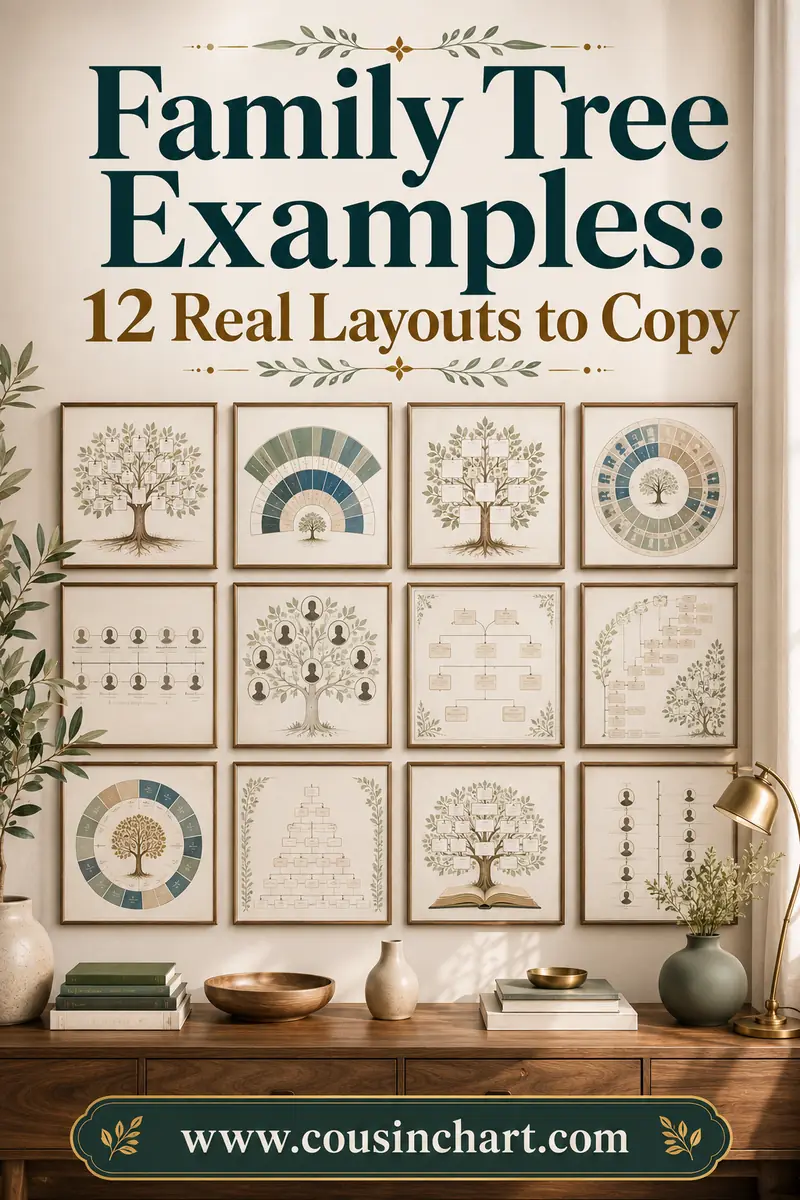
Ink the final version, add a title ("The Reyes Family — four generations") and a "drawn on" date, and photograph it before it goes on the wall or the fridge — paper trees have a way of gaining coffee rings. If it came out well, this is also the moment to photocopy blanks for the cousins who will absolutely ask for one, or to point them to the free PDFs in our family tree template pack and the layout gallery in family tree examples.
FAQ
What's the easiest way to draw a family tree?
Rows, bottom-up: your box at the bottom of the page, two parents above, four grandparents above them, drawn with a ruler in pencil before any names go in. Boxes first, lines second, names last.
Do you draw a family tree top-down or bottom-up?
Both are valid. Bottom-up (you at the base, ancestors rising like branches) matches the tree metaphor; top-down (oldest generation at the top) matches how genealogy charts print. Pick whichever reads naturally to you — just keep every generation in its own row.
How do you draw a family tree with siblings?
Put siblings side by side on the same row, oldest to youngest from the left, each connected upward to the same parents' marriage line. Never draw lines between the siblings themselves — the shared parent line already shows the relationship.
What size paper do I need to draw five generations?
11×17" (tabloid) landscape, or two Letter sheets taped side by side. Five generations means 31 boxes with 16 across the top row; on Letter paper those top boxes shrink below usable writing size.
How do you show divorce and remarriage on a hand-drawn tree?
Give the remarried person a separate marriage line to each spouse, and hang each set of children from the correct line. Mark ended marriages with a small double slash across the marriage line if you want the detail recorded.
Draw it once, then let it grow
Rule the guidelines, draw the seven boxes, and you'll have a finished family tree before the kettle's cold — the hand-drawn kind that ends up framed precisely because it isn't perfect. Extend it a row whenever you learn a new name. And keep the free CousinChart relationship calculator open beside the eraser: every tree eventually meets a "grandma's cousin's daughter," and it's much easier to draw her box once you know she's your first cousin twice removed.