Family Tree Templates With Pictures (Photo Tree)
A photo family tree is the version people actually stop and look at, and it obeys completely different limits from a written one. A name fits in a small box; a face does not. The moment you add photographs, the practical ceiling drops from five generations to about three, the boxes triple in size, and the constraint stops being paper width and becomes resolution and cropping. Get those right and the result is the chart that ends up framed. Get them wrong and you have gray smudges nobody can identify. This page covers the sizing, the cropping, and how to make photographs from six different decades sit together. To name any relationship before it goes on, use the cousin calculator.

Free printables for this page
Download a blank PDF (US Letter or A4) — free, no sign-up — or customize it in the maker above before printing.
 Photo Family Tree
 Kids' Family Tree
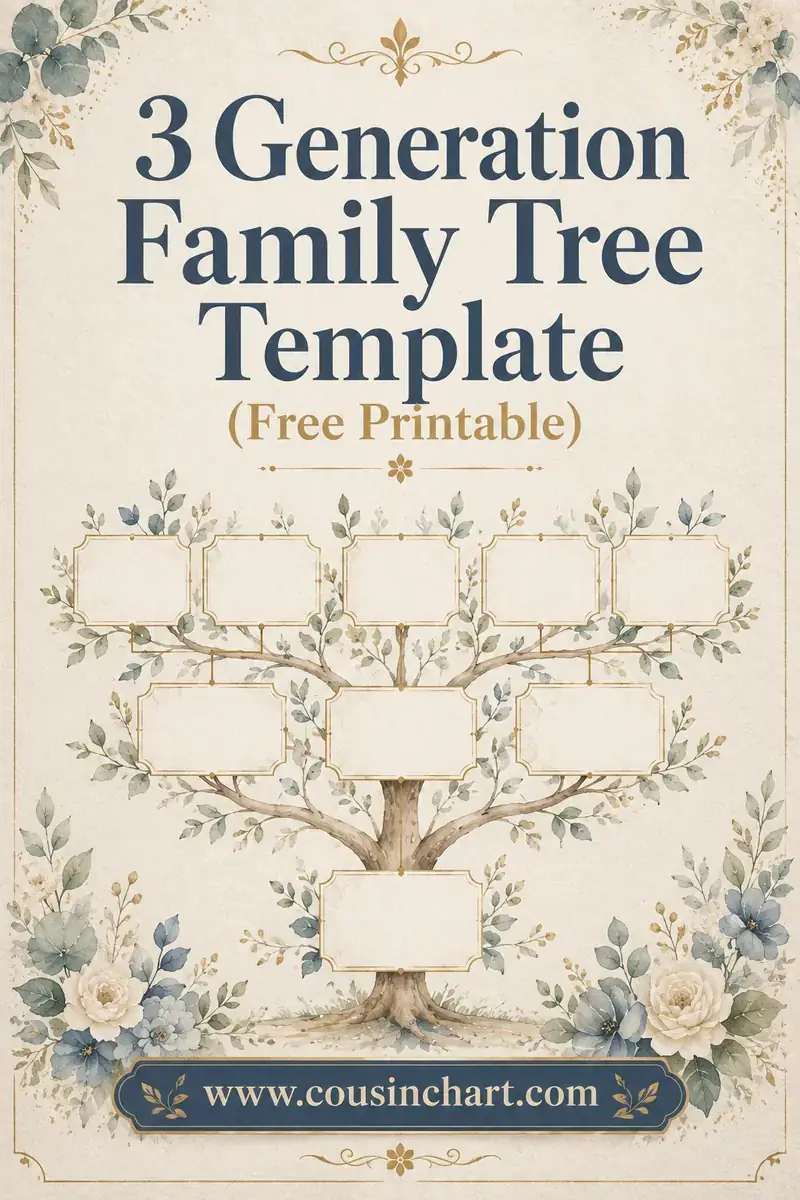
 3-Generation Family TreeYou, parents and grandparents. Portrait, big boxes, 10 minutes to fill.
What are you making? Tap the closest match.
Tap an option above. Faces need room — three generations, not five.
Photographs change the arithmetic
Why a photo tree is a different design problem from a name tree.
A name box is about 5 cm by 1.5 cm. A photo box that shows a recognizable face needs at least 4 cm square, plus room for the name beneath — roughly four times the area.
So the same sheet holds a quarter as many people. A four-generation name chart with fifteen boxes fits comfortably on A4; the same fifteen with photographs needs A3.
Three generations is the realistic target for a photo tree on one sheet: the subject, parents and grandparents, seven to fifteen people depending on whether siblings are included.
Five generations with photographs is a poster, not a page — thirty-one faces, and it needs A1 or a tiled print.
Which means deciding scope before design, not after. The ready-made grid for the common case is in 3 generation family tree template.
How large the photographs need to be
| Printed face size | Suits | Minimum pixels | Sheet |
|---|---|---|---|
| 2 cm | Small chart, many people | 250 × 250 | A4 |
| 3 cm | Compact wall chart | 350 × 350 | A3 |
| 4 cm | The usual choice | 500 × 500 | A3 |
| 5 cm | Few people, high impact | 600 × 600 | A3 or A2 |
| 8 cm | Feature portraits | 950 × 950 | A2 |
The rule underneath the table is 300 dots per inch at final printed size. Below about 200 the result looks soft; below 150 it is visibly bad.
Check before you place, not after. A photograph that looks perfect on screen at 400 pixels wide will print as a 3 cm smudge, because a screen shows roughly 72 to 110 dots per inch and paper needs three times that.
Scan old prints at 600 dpi, not 300. It costs nothing extra and gives you room to crop into the face without losing quality.
Photograph a print with a phone if you have no scanner — flat, in daylight, no flash, camera parallel to the print. Modern phone cameras produce more than enough resolution for a 4 cm crop, and the handling precautions are in how to preserve old family photos.
Cropping faces
The step that decides whether the chart looks designed or thrown together.
Crop to head and shoulders. A full-length photograph reproduced at 4 cm shows a person the size of a grain of rice.
Put the eyes about a third from the top of the crop. It is a portrait convention and it makes a row of very different photographs sit consistently.
Circles are more forgiving than squares. Old photographs are often badly composed, tilted or cluttered; a circular crop removes the corners where most of the distraction lives, and makes wildly different originals look like a matched set.
Keep every crop the same shape and size. Mixed shapes read as an accident.
Do not crop so tight that the era disappears. A collar, a hat, a hairstyle is often the only dating evidence on the image — which is exactly the material used in dating old family photos.
Work on a copy, always. Cropping a scan is free; cropping a print is permanent.
Making mismatched photographs work together
The problem nobody anticipates: six decades of photography on one sheet.
Convert everything to one treatment. All black-and-white, or all warm sepia, or all color. A single conversion is the most effective fix available and takes minutes.
Black-and-white is usually the right choice, because it flatters faded color snapshots and matches genuinely old prints without pretending.
Give every photograph the same frame — same border weight, same color, same shape. Uniform framing hides an enormous amount of variation in the images themselves.
Even out the brightness. One very dark photograph in a row of light ones is the thing the eye lands on.
Do not over-restore. Heavy noise reduction turns a Victorian face into a waxwork. Light dust removal and a small contrast lift is plenty.
Where a photograph is very poor, use it small rather than not at all. A blurry ancestor is still that ancestor.
Laying it out
Design decisions specific to a chart carrying faces.
Photo above, name below. The eye goes to the face first, then reads down for the name. The reverse ordering reads awkwardly.
Name and years only under each photograph. Places and full dates crowd a photo chart badly.
Landscape, and generous spacing. Photographs need air around them far more than name boxes do; a cramped photo tree looks worse than a cramped name tree.
Put the oldest generation at the top, as usual, and center the subject's own line.
Consider a fan or circular arrangement for a photo tree — faces sit well in a curve, and it turns a diagram into something ornamental.
Leave a wide outer margin if it is going to be framed, since a frame will eat a centimeter on every side.
And label a small legend if you have used silhouettes for missing people, so it is clear that is a choice rather than an omission.
Label every face while you can
The step that decides whether the chart is useful in fifty years.
Write the full name under every photograph, not "Grandad". In two generations nobody will know which one that was.
Add birth and death years, which is what lets a future reader place the person in a documented record.
Keep a key sheet listing which original photograph each crop came from, and where that original is kept. Ten minutes now, and it is the only way to go back for a better scan later.
Record who identified each face, and when. "Identified by Margaret Hall, 1998" is the difference between evidence and an assumption that hardens into fact.
Say when you are unsure, on the chart itself rather than only in your notes.
And name the digital files by person and year — `hart-james-1912.jpg` — rather than leaving them as camera numbers. A folder of unnamed scans is barely better than a shoebox.
Handling gaps and awkward cases
Every photo tree has them.
Missing photographs: use a plain silhouette in the same frame as everyone else. Consistent, quiet, and honest — far better than an empty box, which reads as unfinished.
Unidentified faces: do not guess. "Believed to be Sarah Hart" written on the chart is legitimate; a confident wrong label propagates for generations.
Only a group photograph exists: crop the individual out of it. That is what the 600 dpi scan is for.
Someone who hated being photographed: a hand, a signature, a favorite object, or their handwriting can occupy the space with grace.
Living relatives: ask before including anyone's face on something that will be displayed or posted online. Most people say yes; being asked matters.
Children's versions work better with drawn faces than photographs where a photograph is missing, which is the approach taken in family tree templates for kids.
Building it, and what to build it in
The practical routes, in order of effort.
Print a blank photo-tree template and glue copies in. The fastest route and, done neatly, indistinguishable from a designed one — blank layouts are in printable family tree.
Use a slide or design application — one shape per person with a picture fill, so every photograph is cropped identically by the frame rather than by hand.
Use a photo-book service, which handles resolution warnings automatically and prints properly.
Or a physical version: frames on a wall, arranged as a tree, joined with ribbon or painted lines. Nothing beats it for impact and it is easily added to.
Whichever route, print a draft first. Resolution problems are invisible on screen and obvious on paper.
And keep the source files in a folder named per person. Rebuilding a photo tree from scratch because the originals were not kept is a genuinely miserable afternoon — the gift versions of all of this are in family tree gift ideas.
FAQ
How many generations fit on a family tree with pictures?
Three on a single A3 sheet — the subject, parents and grandparents. Photographs need roughly four times the area of a name box, so a photo tree holds about a quarter of the people a name chart does.
What size should the photos be on a family tree?
About 4 cm square printed, which needs an image of at least 500 × 500 pixels. The underlying rule is 300 dots per inch at final printed size; below 200 the result looks soft.
Should I use square or circular photo frames?
Circles, usually. They crop out the cluttered corners of badly composed old photographs and make images from very different eras look like a matched set. Whichever you choose, keep every frame identical.
How do I make old and new photographs look right together?
Convert them all to one treatment — black-and-white is the safest — and give every image the same frame shape, border and size. A single conversion fixes most of the visual chaos in minutes.
What do I do about people with no photograph?
Use a plain silhouette in the same frame as everyone else, and add a short legend saying so. An empty box reads as unfinished; a consistent silhouette reads as a deliberate design.
Can I use the original prints?
No — scan them at 600 dpi and work from the copies. Originals get cropped, glued and lost, and the older the print the less recoverable that is.
Fewer faces, bigger and better prepared
A photo family tree works when you accept what photographs cost in space: three generations rather than five, boxes four times the size, and A3 rather than A4. Scan at 600 dpi and check that every image will hold 300 dots per inch at its printed size, because that single check is the difference between recognizable faces and gray smudges. Crop to head and shoulders with the eyes a third from the top, use identical circular frames, and convert the whole set to one treatment so six decades of photography read as one chart. Put the photo above the name, keep the text to name and years, leave a wide margin for the frame, and use a consistent silhouette wherever a photograph is missing. Work from copies, never the originals, and let the cousin calculator settle any label you are unsure of.