Family Tree School Project Ideas (With Samples)
A family tree project is usually set as a drawing exercise and marked as a research one. The trees that stand out are not the neatest — they are the ones where the child asked somebody something. One recorded conversation with a grandparent, one photograph with a real caption, one fact nobody in the class could have looked up, and an ordinary chart becomes the best in the room. This page covers project ideas by age, what teachers are actually marking, the materials that survive a school bag, and how to handle a family that does not fit the standard worksheet. To name any relationship before it goes on the poster, use the cousin calculator.
What kind of project is it? Tap the closest match.
Tap an option above. Research beats neatness on almost every mark scheme.
Check what is actually being asked for
Five minutes that prevents most of the trouble.
Read the brief for the number of generations. Three is typical — the student, parents, grandparents. Some briefs want four, which roughly doubles the work and needs a bigger sheet.
Check whether siblings and cousins are wanted. They widen the chart considerably, and a brief that says "your direct family" does not mean them.
Find out the format and size. A poster, a booklet and a presentation are three different projects, and discovering that on the night before is how families end up awake at midnight.
Note the deadline for the research, not just the hand-in. Relatives need a few days to find photographs and answer questions, so the useful internal deadline is a week earlier.
Ask what is being marked. Most mark schemes weight research, presentation and accuracy — not artistry. That single question redirects effort to where the marks are.
And check whether a variation is allowed if the family shape is complicated. Teachers almost always say yes, and asking early is far easier than explaining a half-finished sheet.
Sort the shape of the family first
The step that turns a difficult evening into a straightforward one.
Standard templates assume two parents and four grandparents. Plenty of families are not that shape, and a child should not meet the problem for the first time with a glue stick in their hand.
Adapt before printing. Add a box, remove one, relabel "Mom and Dad" as "the grown-ups who look after me", or drop a branch entirely. The child decides who goes on their tree.
Blank boxes are more flexible than pre-labeled ones, and they suit every family without singling anybody out.
Step-parents belong as full boxes, not dotted-line footnotes — the conventions for divorce, remarriage and half-siblings are in blended family tree template.
Where a branch is unknown, "not known" written in the box is an honest and perfectly acceptable answer. It is a school project, not a legal document.
And a quiet word with the teacher where circumstances are complicated prevents the project being displayed on a wall the family would rather it was not — the age-by-age design guidance is in family tree templates for kids.
Project ideas by age
Pitching it right matters more than the materials.
| Age | Project | Scope |
|---|---|---|
| 4–6 | Handprint tree with fingerprint leaves | The child and their household |
| 5–7 | Photo tree — printed pictures glued on | Two generations, 7 people |
| 7–9 | Poster with names, years and photographs | Three generations, ~15 people |
| 9–11 | Poster plus a page about one ancestor | Three generations, one deep dive |
| 11–14 | Booklet with a chart, profiles and sources | Four generations |
| 14+ | Research project with documents and a timeline | Four or more, with evidence |
Under seven, the craft is the project. Sticking leaves onto a drawn tree is the point; the genealogy is incidental — more variations are in family tree crafts for kids.
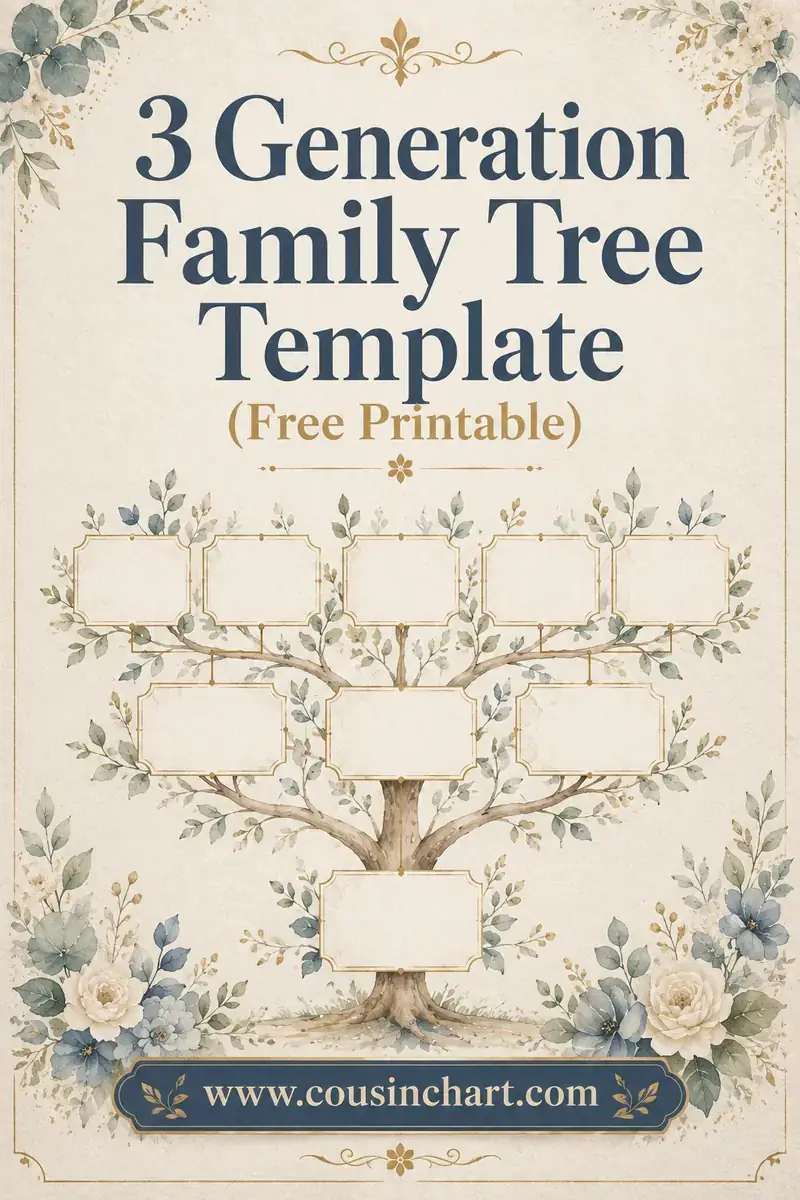
Seven to eleven is the classic poster age, and a three-generation layout is the right target — the ready-made grid is in 3 generation family tree template.
Above eleven, the project stops being about drawing and starts being about evidence: where each fact came from, and what is still unknown.
The part that lifts the mark
What separates a good project from a neat one.
Interview a relative and quote them. A sentence in someone's own words — "my grandmother said the house had no electricity until she was nine" — is the single most effective thing on a family tree project, and no classmate can produce the same one.
Record it on a phone so the quotation is accurate, and write down the date and who said it.
Ask three or four questions, not twenty. Where were you born, what was your first job, what is your earliest memory. The bank of questions is in family history interview questions.
Add one artefact. A photocopy of an old photograph, a certificate, a map of where the family lived. Physical evidence reads as research.
Pick one ancestor and go deeper rather than adding another generation of names. A paragraph about one great-grandfather beats eight more empty boxes.
Say what is unknown, explicitly. "We could not find my great-grandmother's birth year" shows the work honestly, and teachers mark it well.
And date the project. It makes it a record rather than a homework sheet.
Where the marks usually are
Worth knowing, because effort tends to go to the wrong place.
Accuracy of the relationships is normally the first criterion, and it is the one families get wrong most often — a great-aunt placed as a grandmother, or a cousin's child put in the wrong generation.
Evidence of research comes next: who was asked, what was found, and where it came from. This is where an interview earns its keep.
Clarity of presentation means readable labels, a title, and a chart a stranger can follow. It does not mean artistic skill, and children who believe otherwise waste hours coloring.
Written work, where there is any, is marked as writing — spelling, sentences, structure. A caption with a spelling mistake costs more than an untidy border.
Independence. Teachers can tell instantly which projects were made by a parent, and an obviously adult-made poster marks lower than a rougher one the child clearly did.
Following the brief. Four generations when three were asked for is not a bonus, and it frequently costs marks for scope.
So the efficient order of effort is: get the relationships right, ask one relative something, write the labels carefully, and only then worry about how it looks.
Materials and layout
Practical choices that decide whether it survives to the classroom.
A3 is the sensible poster size for three generations. A4 is cramped once photographs go on; A2 does not fit in a bag.
Card, not paper. Paper buckles under glue and creases in transit.
Lay it out in pencil first, all boxes and lines, before a single name or photograph is fixed. The commonest disaster is running out of room on the right-hand side.
Landscape orientation. Family trees are wider than they are tall.
Print photographs small — 4 cm square is plenty — and use copies, never originals. Originals get glued down and are then gone.
Glue stick, not liquid glue, which wrinkles everything.
Write names in pencil first, then go over in pen once the layout is confirmed.
And roll it rather than folding it for the journey, or the creases become the first thing the marker sees. Printable grids to work over are in printable family tree.
Presenting it
Half the mark on many briefs, and the part that gets least preparation.
Open with a person, not a diagram. "This is my great-grandmother Rosa, who came here when she was nineteen" beats "this is my family tree".
Choose one story and tell it properly. A three-minute talk holds one story well or five badly.
Point at the chart while you speak, so the audience knows where they are.
Hold up a photograph. Faces hold a room in a way a chart does not.
Practice once out loud at home, timed. It is the difference between a talk and a mumble.
Prepare for the obvious question — "who is your oldest relative on there?" — and know the answer.
Common problems, and what to do
The situations that come up most often.
Nobody knows the dates. Approximate is fine: "b. about 1935". Marking rewards honesty about uncertainty.
A relative will not talk about it. Do not push. Note that the information is not available and move on; it is somebody's real life.
The chart does not fit. Cut a generation rather than shrinking the writing. A complete small tree beats a cramped big one.
Two families to show. Some children make two charts, one per household. That is a legitimate answer and often the kindest one.
The photographs are all on a phone, and nobody has a printer. A drawn portrait in each box works, and looks better than a gray photocopy.
It has to be handed in tomorrow. Three generations, names only, one photograph, one quotation from a parent. That is a complete project and it takes an hour.
And a relationship nobody can name — a great-aunt's grandchild, or a cousin's child — is what the cousin calculator is for.
FAQ
What should a family tree school project include?
Usually three generations — the student, parents and grandparents — with names, birth years and photographs. What lifts it is one interviewed relative, one quoted sentence and one photocopied artefact, because those show research rather than drawing.
How many generations should a school family tree have?
Three is the standard brief for primary age, four for secondary. Check the sheet, because four generations roughly doubles the number of boxes and needs a larger sheet than A3.
What size paper is best for a family tree poster?
A3, in landscape. A4 becomes cramped once photographs are added, and A2 does not fit in a school bag without rolling. Use card rather than paper so it survives glue and transport.
What if a child's family does not fit the template?
Change the shape before printing rather than at the table, use blank boxes instead of pre-labeled ones, and let the child decide who belongs. Teachers will almost always approve a variation if asked in advance.
How do you make a family tree project stand out?
Interview a relative, record it, and quote one sentence in their own words. Add a photocopied photograph or document, and go deeper on one ancestor rather than adding more empty boxes.
How long should the presentation be?
Three minutes, built around one story and one photograph. Practice it aloud once at home with a timer — that single rehearsal is what turns a mumbled read-out into a talk.
Ask somebody something
The family tree projects that stand out are researched rather than decorated. Check the brief for generations and format, sort the shape of the family before anything is printed, then spend the effort where the marks are: one relative interviewed, one sentence quoted in their own words, one photocopied photograph, and one ancestor described properly. Lay the poster out in pencil first, work in landscape on A3 card, use copies of photographs rather than originals, and practice the talk once out loud. Say plainly what is unknown, because that reads as honesty rather than as a gap. And when a relationship on the chart is not obvious, the cousin calculator will name it.